
The pile of cables under a desk looks like one problem. It is usually four, and they have to be solved in order. Skip to step three and you end up with a tidier version of the same mess in about a month.
Here is the order that actually holds.
Step 1: Reduce the number of cables before organizing any of them
This is the step people skip, and it is the one that determines whether the rest works. Cable management is much easier with fewer cables. Obvious, and almost universally ignored in favor of buying velcro ties.
Count what is actually under there. A typical desk has a laptop charger, a monitor cable, a monitor power cable, a hub or dock cable, a keyboard cable, a mouse dongle, a phone charger, and a desk lamp. That is eight, and at least three of them can usually go.
A hub with passthrough charging collapses the laptop charger, the monitor cable, and the peripherals into one cable to the laptop. That is the biggest single reduction available.
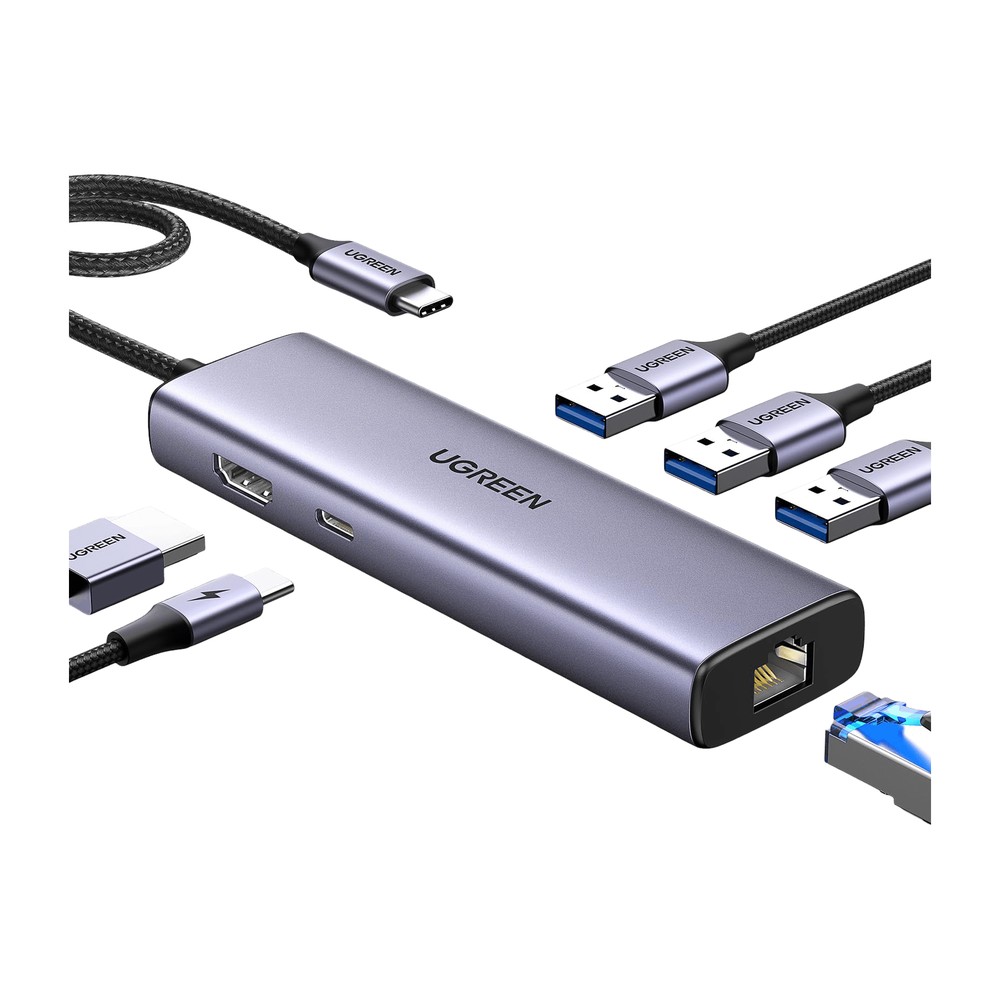
UGREEN Revodok 6-in-1 USB-C Hub
Ethernet, 4K HDMI, and 100W passthrough charging in one dongle. The power hub for a one-cable desk.
If the setup runs two monitors, the dock is the version of this that handles both.
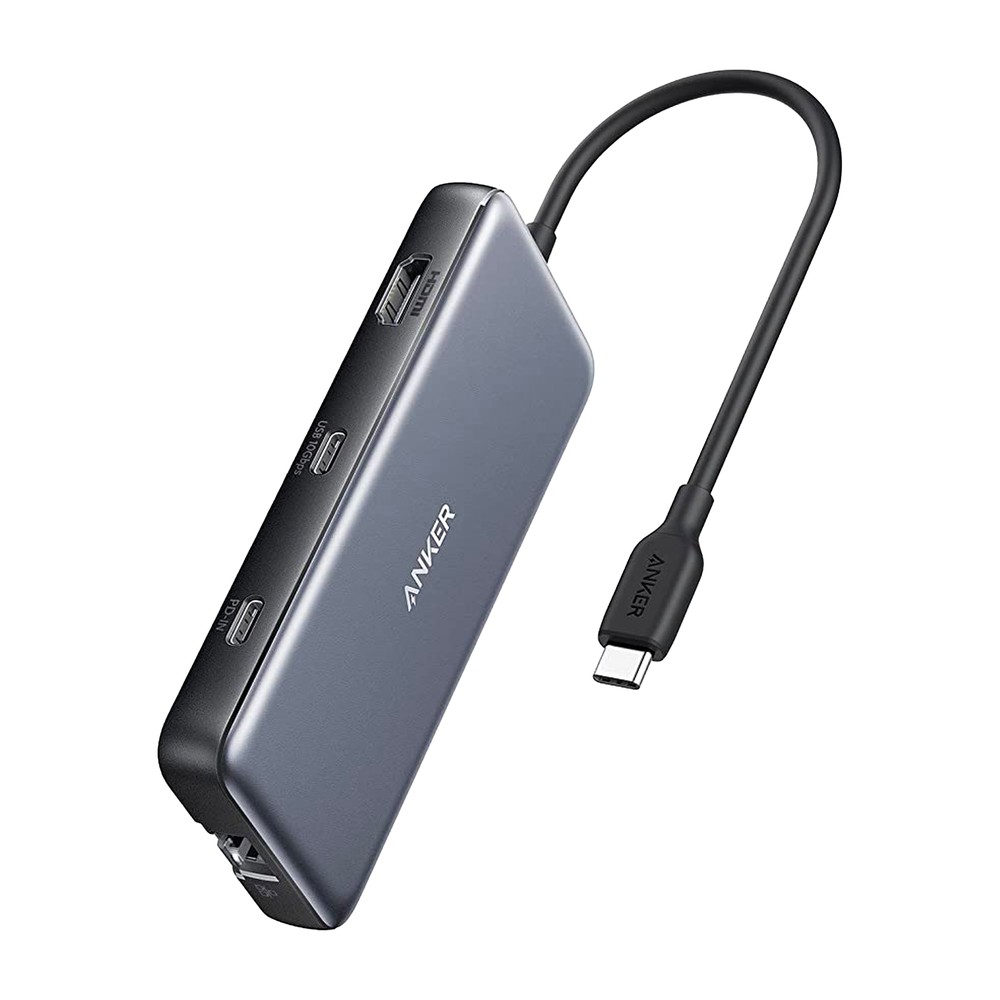
Anker 8-in-1 USB-C Docking Station
Dual 4K HDMI, Ethernet, and card readers for people running two monitors off one laptop.
The other easy removal is the charging pile. Phone cable, watch cable, and earbuds cable become one pad.
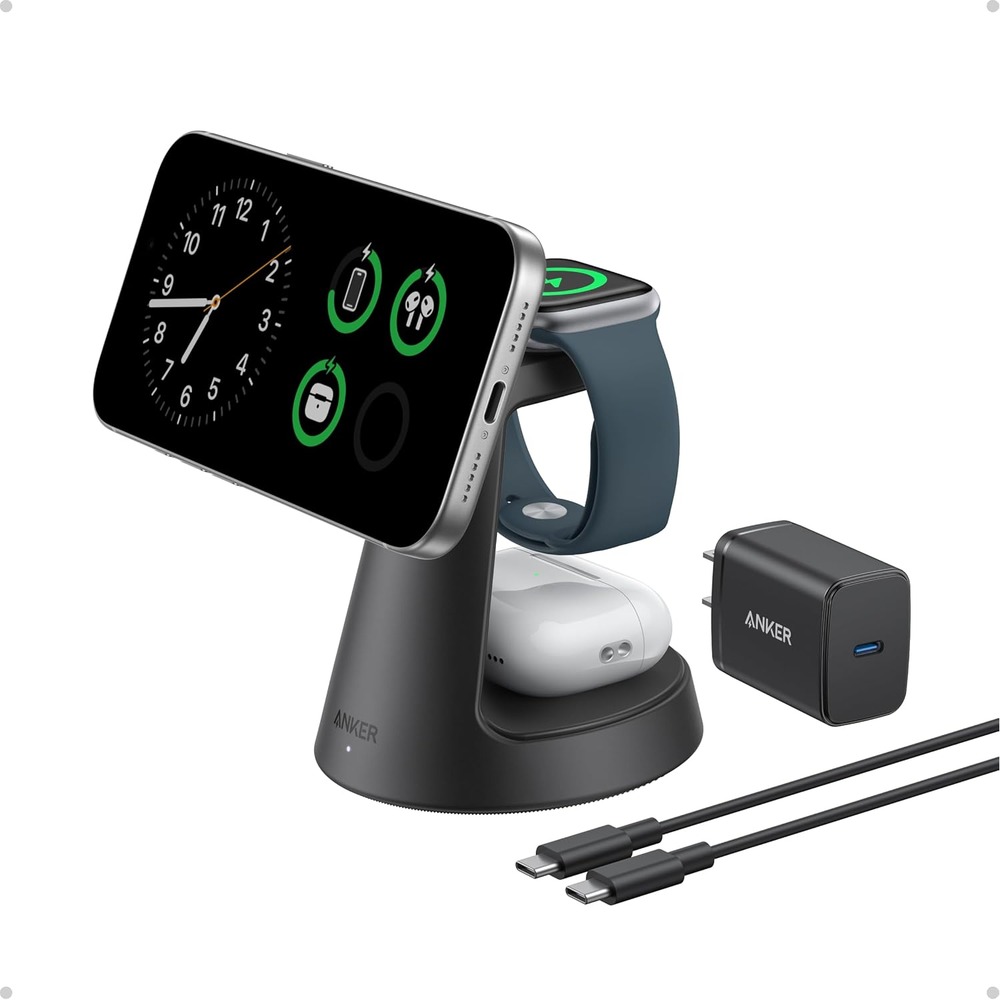
Anker MagGo 3-in-1 Qi2 Charging Station
One pad for phone, watch, and earbuds, with a Qi2 magnetic snap so the phone actually charges at full speed instead of sliding off-center.
Done properly, step one alone takes eight cables down to four. Now the rest is worth doing.
Step 2: Get the power strip off the floor
A power strip on the floor is the root of most of the visual mess, because every cable has to travel down to reach it. Lift the strip and the cables stop needing to reach the floor at all.
A tray that clamps to the underside of the desk is the no-commitment version. No drilling, works on a rented desk, comes off cleanly.
Measure before buying. The clamp needs about five inches of clear desk edge, and desks with a drawer or a rear support bar frequently do not have it.
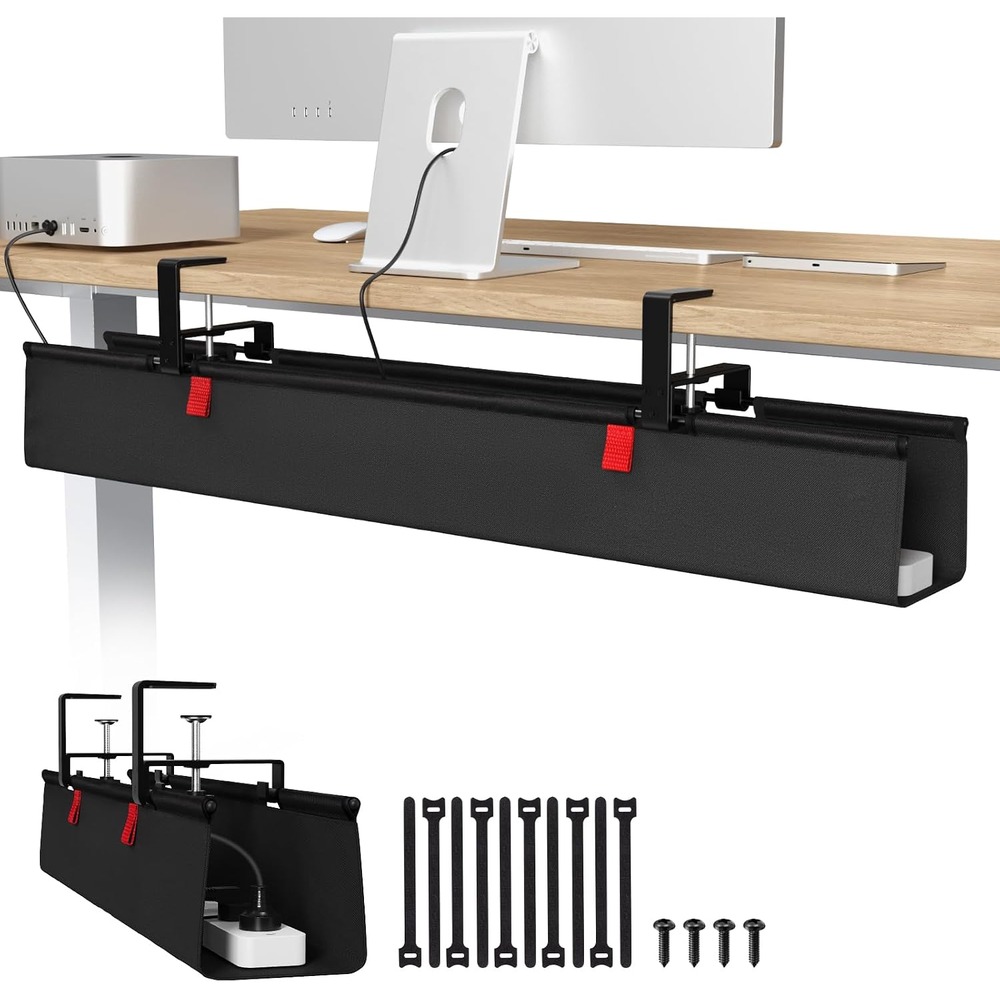
Univivi No-Drill Cable Management Tray
A 36-inch tray that clamps under the desk and hides the power strip and cable mess, no drilling into the desk required.
Step 3: Shorten what remains
With fewer cables and the strip lifted, most of the leftover mess is slack. Cables are sold at generic lengths and almost none of them need to be as long as they are.
The tray handles most of this by giving the slack somewhere to live. For anything still hanging, bundle at the midpoint rather than at the ends, which keeps the ends free to move when you need to unplug something.
Resist the urge to zip-tie everything into one perfect bundle. Every time you change one device you will cut it apart and redo it. Velcro, loosely, in two or three separate groups by function.
Step 4: Deal with the things that never need to move
The last category is the always-on stuff: a lamp, a monitor, a fan, anything that lives on a schedule rather than being switched by hand. Putting these on smart plugs means the switch is no longer a physical object you have to reach behind the desk to find.
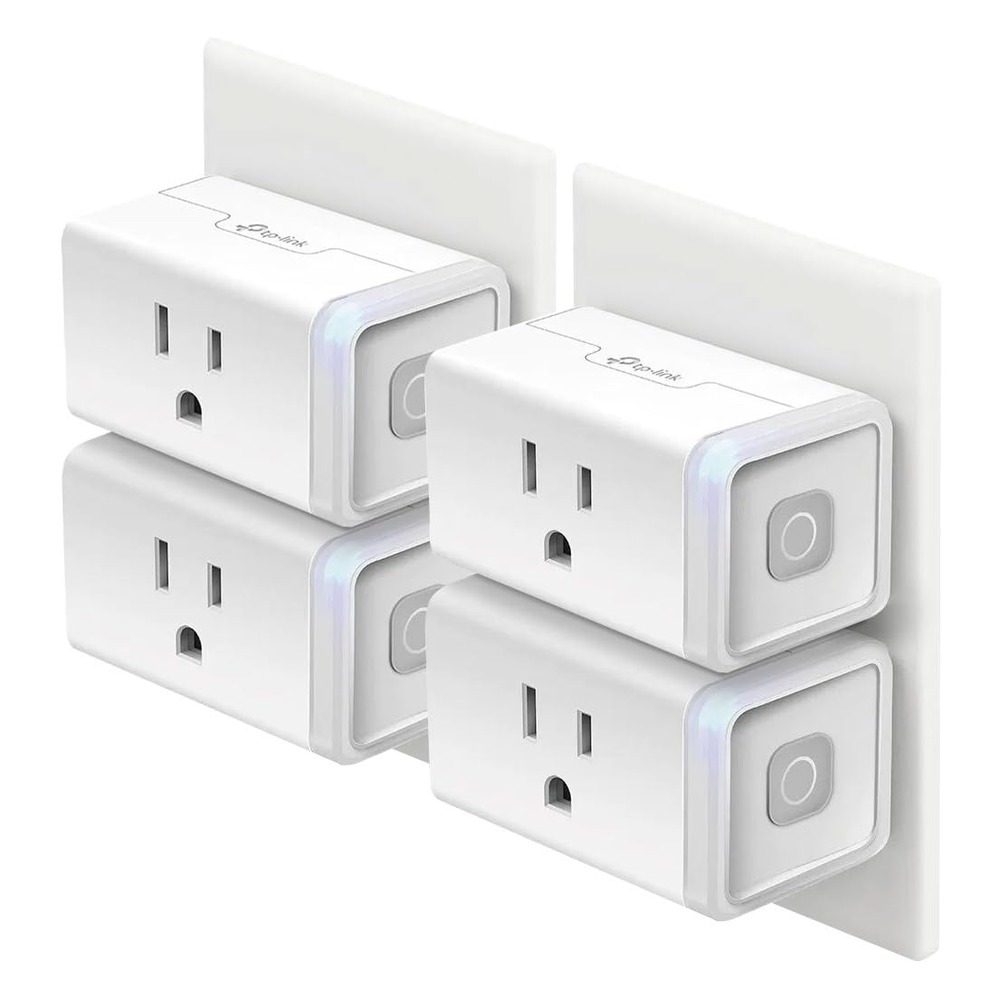
Kasa Smart Plug (4-Pack)
No-hub smart plugs that work with Alexa and Google Home, cheap enough to put on every lamp and appliance worth automating.
What not to bother with
- Adhesive cable clips. They fail in warm rooms and take the desk finish with them when they go.
- Cable sleeves. They look tidy in product photos and are miserable the first time you need to change one cable inside the sleeve.
- Buying shorter replacement cables for everything. Expensive, and steps one and two already solved most of it.
- Doing any of this before step one. Organizing eight cables is a project. Organizing four is fifteen minutes.
The realistic outcome
This is not going to produce the floating desk from a product photo, because those desks have the computer mounted underneath and one cable going to the wall. What it does produce is a desk you can vacuum under, where unplugging one thing does not disturb four others, and where nothing gets kicked loose by a chair.
That is the version worth having. It takes about an hour, most of which is step one.